
Choosing a window is a sequence of connected decisions. Start with the building and the way each room is used, then choose the opening method, glass, frame performance and hardware. Budget should control the level of specification, not replace it.
Step 1: Confirm the architectural style and sightlines
Decide whether the project needs slim contemporary frames, traditional divided lights, large fixed glazing, floor-to-ceiling units or a combination. Record the required frame color inside and outside, visible mullions, screen type and façade restrictions. A reference photo helps, but elevations and opening sizes are what factories can quote accurately.
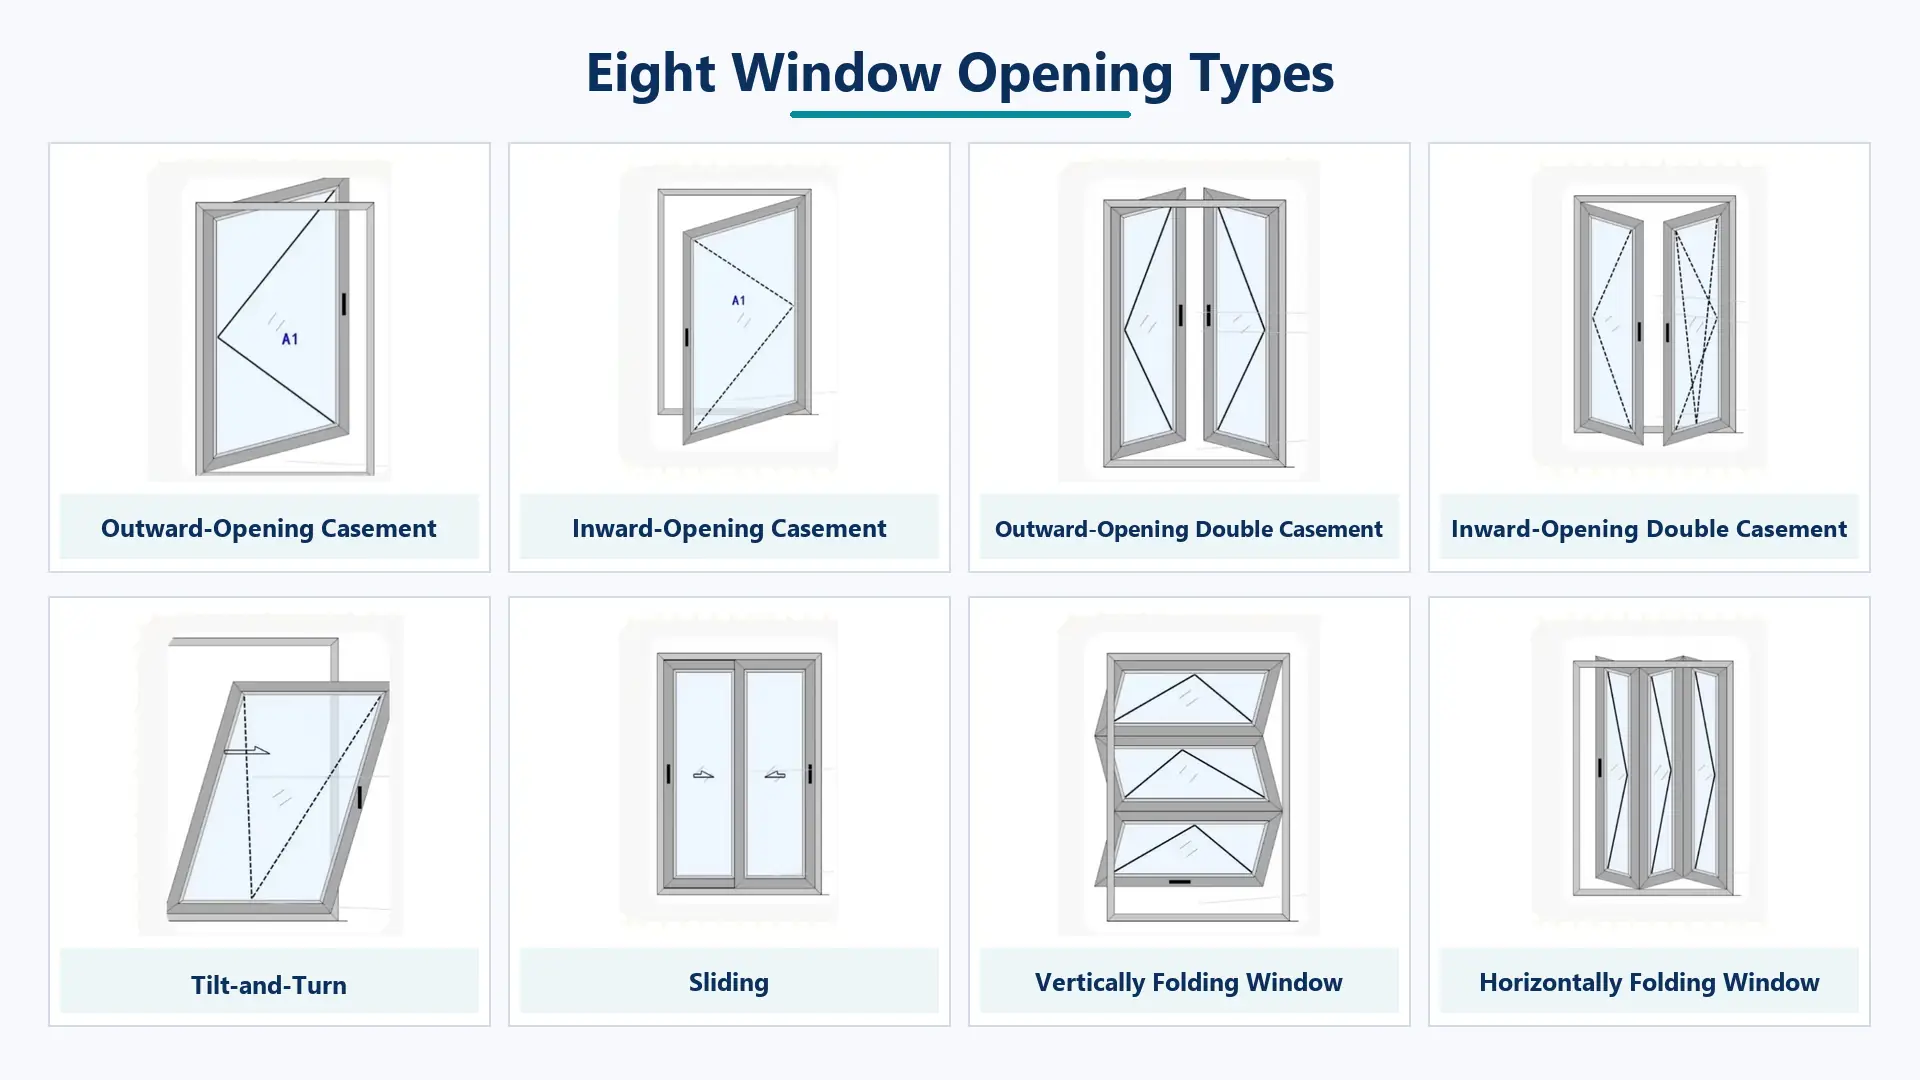
Step 2: Assign an opening method to each room
Do not select one opening type for the entire project by habit.
| Room or condition | Practical starting point | Check before approval |
|---|---|---|
| Bedroom | Casement or tilt-and-turn | Night ventilation, acoustic sealing, child safety |
| Kitchen | Casement, awning or sliding | Worktop clearance, ventilation and cleaning |
| Bathroom | Awning or tilt function | Privacy glass, moisture and restricted opening |
| Large living area | Fixed panes plus operable sashes | Glass size, wind load, lifting and cleaning |
| Balcony or patio | Sliding, lift-and-slide or folding | Threshold, drainage, usable opening and traffic |
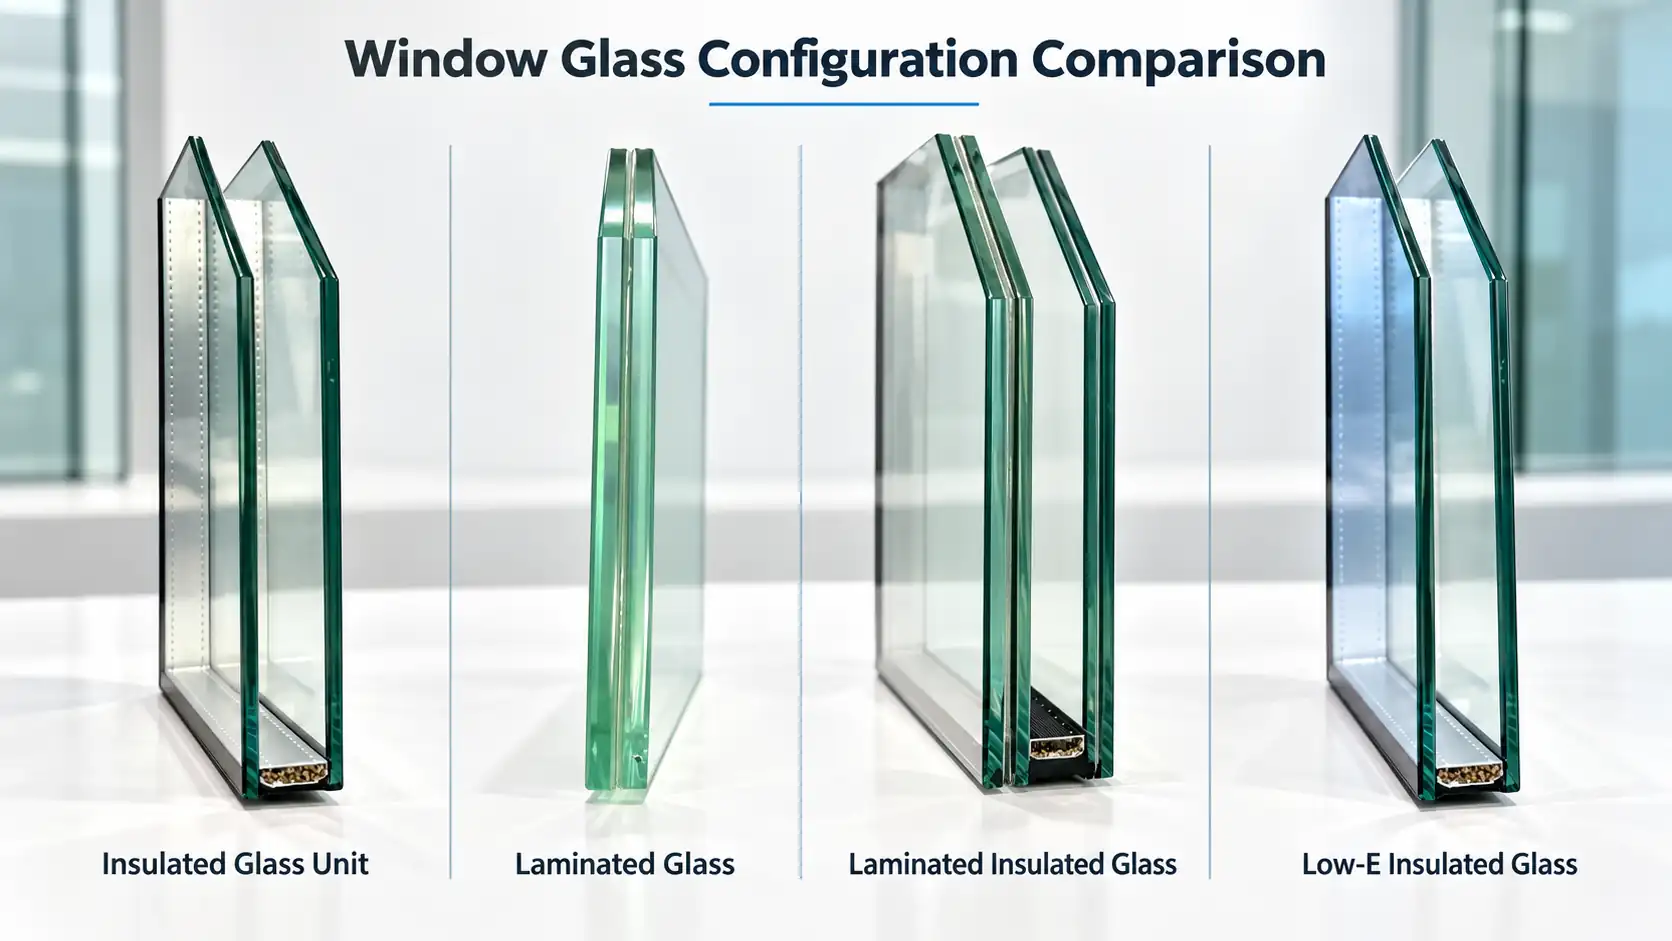
Step 3: Select glass from the risk, not from a slogan
First decide whether safety glass is required because of low-level glazing, doors, stairs, bathrooms or impact risk. Then address climate and solar exposure with the full insulated-glass build-up and Low-E coating position. For noise, compare different pane thicknesses and laminated acoustic options. For large panes, verify thickness by calculation rather than copying a residential standard detail.
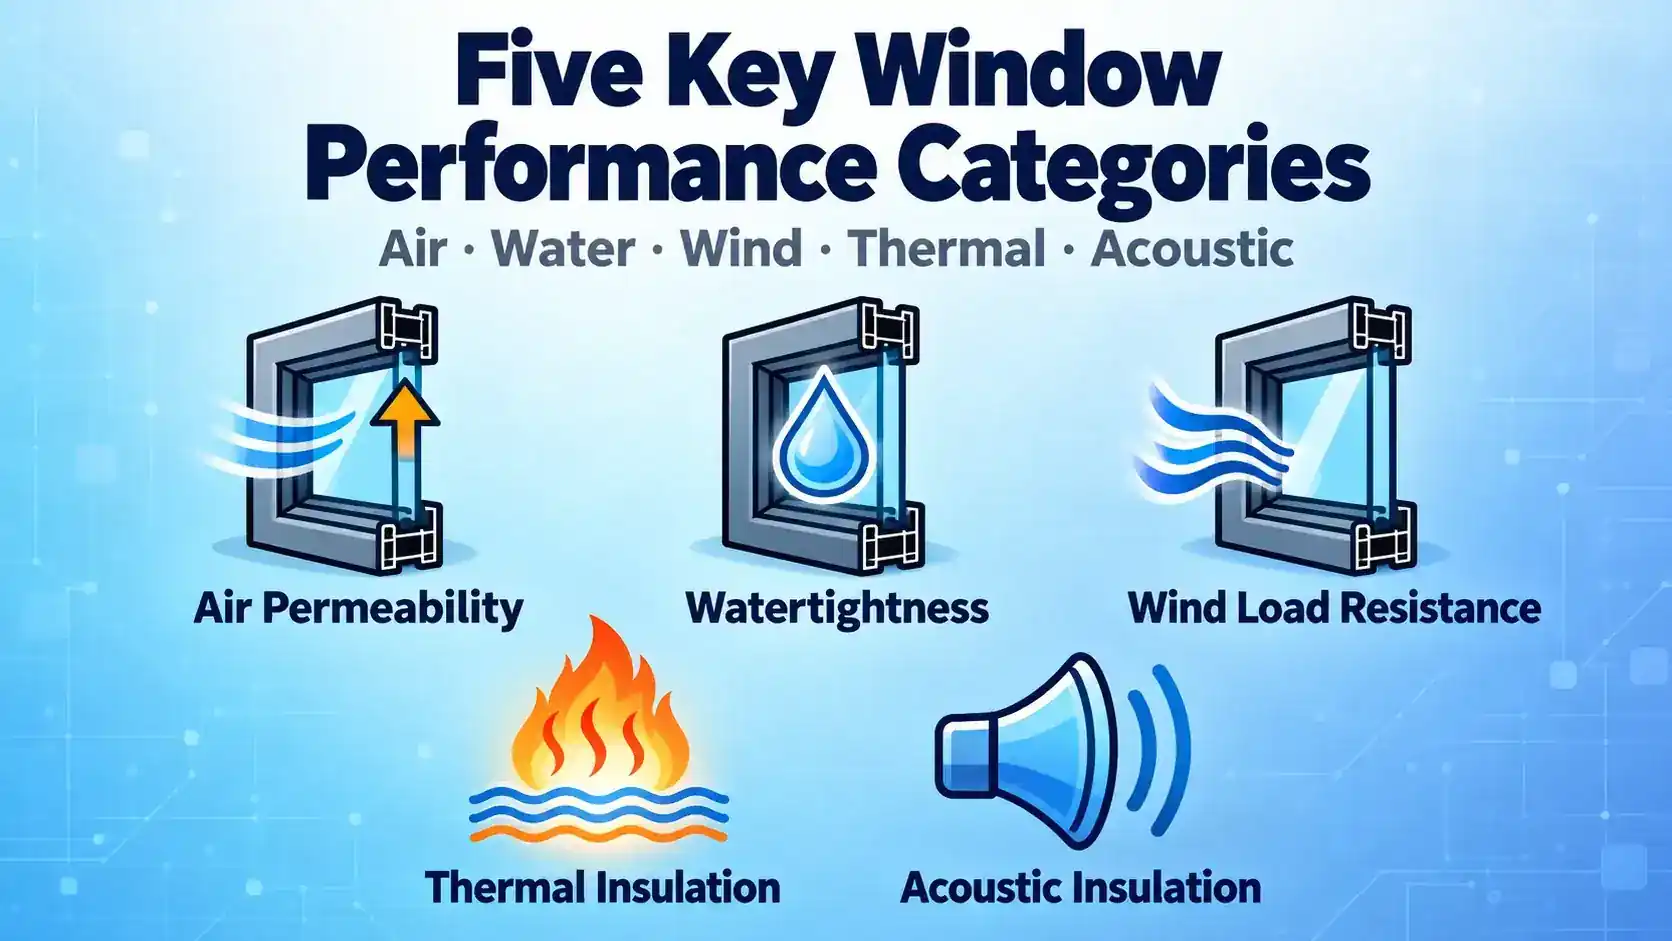
Step 4: Set the performance level
Define which risks matter at the project location: air leakage, driving rain, design wind pressure, thermal transmission, condensation or external noise. Ask for whole-window evidence based on a comparable size and opening type. Profile thickness or gasket count alone does not establish performance.
Step 5: Build a realistic budget
Use three scope levels instead of asking for an undefined “best” window:
| Budget level | Suitable approach | Do not remove |
|---|---|---|
| Controlled | Standard colors and sizes, fewer opening sashes, proven hardware | Safety glass, drainage, correct anchors and perimeter sealing |
| Balanced | Thermal-break frame, project-specific glass, better hardware and screens | Documented component models and inspection points |
| High performance | Enhanced thermal/acoustic glass, warm edge, larger units or premium operation | Engineering checks, mock-up and verified installation method |
Reduce cost by simplifying divisions, standardizing sizes and limiting expensive opening functions. Do not save money by leaving glass, hardware, sealants or installation responsibility unspecified.
Step 6: Prepare the quotation package
Send the same package to every supplier: elevations, dimensions, quantities, opening direction, color, glass build-up, hardware expectations, performance targets, screens, packing, destination and installation scope. Require exclusions to be written beside the relevant line item.
Step 7: Use the inquiry form as a project brief
The form below collects the minimum inputs needed to recommend a direction and compare suppliers. Attach a window schedule, plan, elevation or existing quotation where available.
Turn your requirements into a comparable supplier brief
Share dimensions, quantities, performance targets and destination. We will organize the key inputs before factories and quotations are compared.