
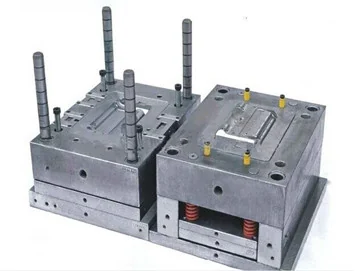
A used mold should be evaluated as a production asset, not as a block of steel. Clean photographs can hide blocked cooling circuits, damaged shut-offs, incomplete hot-runner systems and dimensional wear.
TL;DR
Do not approve a used mold until you have verified its identity, completeness, machine compatibility, core and cavity condition, cooling circuits, hot runner, moving mechanisms and trial samples. If the seller refuses a trial and cannot provide reliable records, price the mold as a repair project—not as production-ready tooling.
Five reasons to reject the mold immediately
- The cavity or core is cracked, distorted or severely corroded.
- Critical sealing, cosmetic or high-pressure surfaces have extensive welding.
- Cooling circuits cannot hold pressure or provide usable flow.
- Essential slides, lifters, inserts or proprietary hot-runner components are missing.
- Machine fit cannot be confirmed and the seller will not permit a trial.
Step 1: Confirm the mold’s identity
Photograph the nameplate, mold number and all external markings. Request the original product sample, drawings, steel information, maintenance history, hot-runner documents and the model of the machine previously used.
Never rely on an unsupported claim about total cycles. A seller’s estimate can be recorded, but remaining life must be judged from physical condition and trial performance.
Step 2: Verify that the mold is complete
Ask for six-sided photographs and open-mold views. Compare the visible components with any drawings or bill of materials. Check for:
- missing cavity or core inserts;
- removed slides, lifters or cylinders;
- incomplete ejector assemblies;
- disconnected hot-runner wiring;
- missing connectors, clamps and support components;
- empty locations where proprietary parts were removed.
An incomplete mold may still be useful, but the quotation must identify every missing item and its replacement plan.
Step 3: Inspect the core, cavity and shut-offs
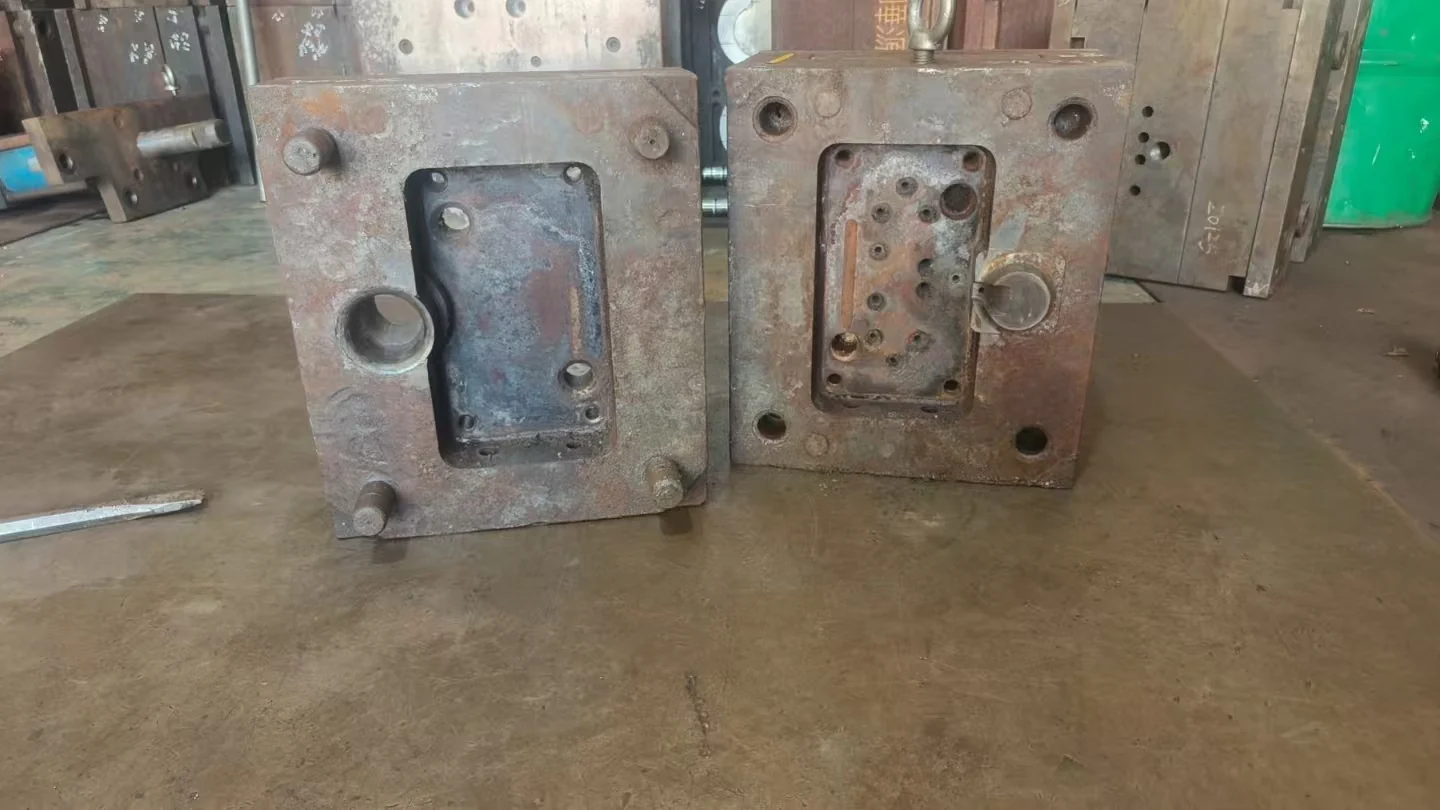
Use clean, angled lighting. Look for corrosion, scratches, chipped edges, polishing damage, texture mismatch, weld lines and signs of grinding. Inspect the parting line and shut-offs closely; damage here can create flash and uneven venting.
Welding is not automatically unacceptable. Ask where it was performed, why it was necessary, what steel and process were used, and whether hardness or surface treatment was restored.
Step 4: Check guiding and moving mechanisms
Inspect guide pins, bushings, slides, lifters, ejector pins, return pins, wear plates and hydraulic or pneumatic cylinders. Move mechanisms through their full travel where safe. Look for binding, abnormal clearance, scoring and makeshift repairs.
Step 5: Test every cooling circuit
Pressure testing alone is not enough. A heavily restricted channel may hold pressure while providing poor flow. Record each circuit separately:
- circuit identification;
- pressure and hold time;
- leakage result;
- flow rate or comparative flow;
- visible rust, scale or contaminated discharge.
Poor cooling can cause long cycle times, warpage and unstable dimensions.
Step 6: Test the hot runner
Confirm the brand, model, zone count, heater voltage, thermocouple type and controller interface. Measure heater and thermocouple circuits, inspect connectors and verify valve-gate actuation where applicable. Replacement hot-runner parts can materially change the total project cost. See the English technical overviews from Husky and Mold-Masters.
Step 7: Confirm machine compatibility
Compare mold dimensions, thickness, tie-bar clearance, locating ring, nozzle interface, clamp positions, opening stroke, ejector layout, shot requirement and clamping requirement with the buyer’s machine.
“It ran on a 250-ton machine” is not enough. Obtain the actual machine model and dimensional data.
Step 8: Conduct a documented mold trial
Record the machine, screw size, material, drying conditions, barrel temperatures, mold temperature, injection settings, holding conditions, cooling time and total cycle.
Identify samples by cavity and check:
- weight variation;
- flash and short shots;
- sink, burns and weld lines;
- warpage and ejection marks;
- gate quality;
- critical dimensions;
- cavity-to-cavity consistency.
Xometry’s English guide to injection molding defects provides useful defect background.
Step 9: Create an acceptance report
The report should include photographs, test results, known repairs, missing items, modification scope, trial parameters, sample measurements and the agreed disposition of every non-conformance.
Use three classifications:
- Accept: ready after normal cleaning and setup.
- Conditional accept: purchase depends on listed repairs and a repeat trial.
- Reject: structural, compatibility or economic risk is unacceptable.
FAQ
Can a mold be inspected without running it?
Some mechanical, electrical and water-circuit checks are possible, but filling, cooling, ejection and product quality cannot be proven without a trial.
Is visible rust always a rejection reason?
No. Light external rust may be repairable. Pitting on product-forming, sealing or guiding surfaces is more serious.
How many samples should be checked?
Check samples from every cavity over a stable production window, not just the first complete shot.
Request an independent assessment
Send the mold photographs, nameplate, original sample, target product drawing and complete injection molding machine specifications. A useful assessment must cover both mold condition and production compatibility.
Send the product, mold and machine information.
Share the part drawing or sample, material, target output, available mold details and injection-machine specifications. We will identify the checks needed before purchase, modification or trial.